
This guide uses Hugo for site generation, GitHub Actions for CI/CD, and Azure Static Web Apps for hosting. We’ll apply the Blowfish theme by Nuno Coração and follow Microsoft’s official learn docs to get you up and running in no time.
If you’re on Windows or Linux, swap brew install for your package manager (choco install on Windows, apt install on Debian/Ubuntu, etc.). Throughout, we’ll call our demo project Example-Site - feel free to use your own name.
Prerequisites #
- An Azure account with an active subscription. If you don’t have one yet, create a free Azure account.
- A GitHub account. If you need one, sign up for GitHub.
Create a Hugo application #
- In order to create a similar site you must first install Hugo. To install Hugo on Mac OS simply open up a Terminal and run the following.
brew install hugo
If you do not currently have Homebrew installed you will need to run the following first to install homebrew before installing Hugo. Follow the prompts to ensure this is installed correctly.
/bin/bash -c "$(curl -fsSL https://raw.githubusercontent.com/Homebrew/install/HEAD/install.sh)"
- You also need Git installing. To install this run the following in a Terminal also.
brew install git
- Once both of these are installed, navigate to a local directory where you want to build your site and run the Hugo CLI within your chosen directory to create the site.
hugo new site "Example Site"
- Change directory into the newly created site.
cd "Example Site"
- Initialize a Git repository for the new site.
git init
- Next create a main branch.
git branch -M main
- Then add the Blowfish theme to the site by installing the theme as a git submodule.
git submodule add https://github.com/nunocoracao/blowfish themes/blowfish
- Now apply the example site to give the new site some content.
cp -r ./themes/blowfish/exampleSite/* ./
- Next configure git (replace with your GitHub email) and commit the changes to the main branch
git add -A
git config --global user.email "you@example.com"
git commit -m "initial commit"
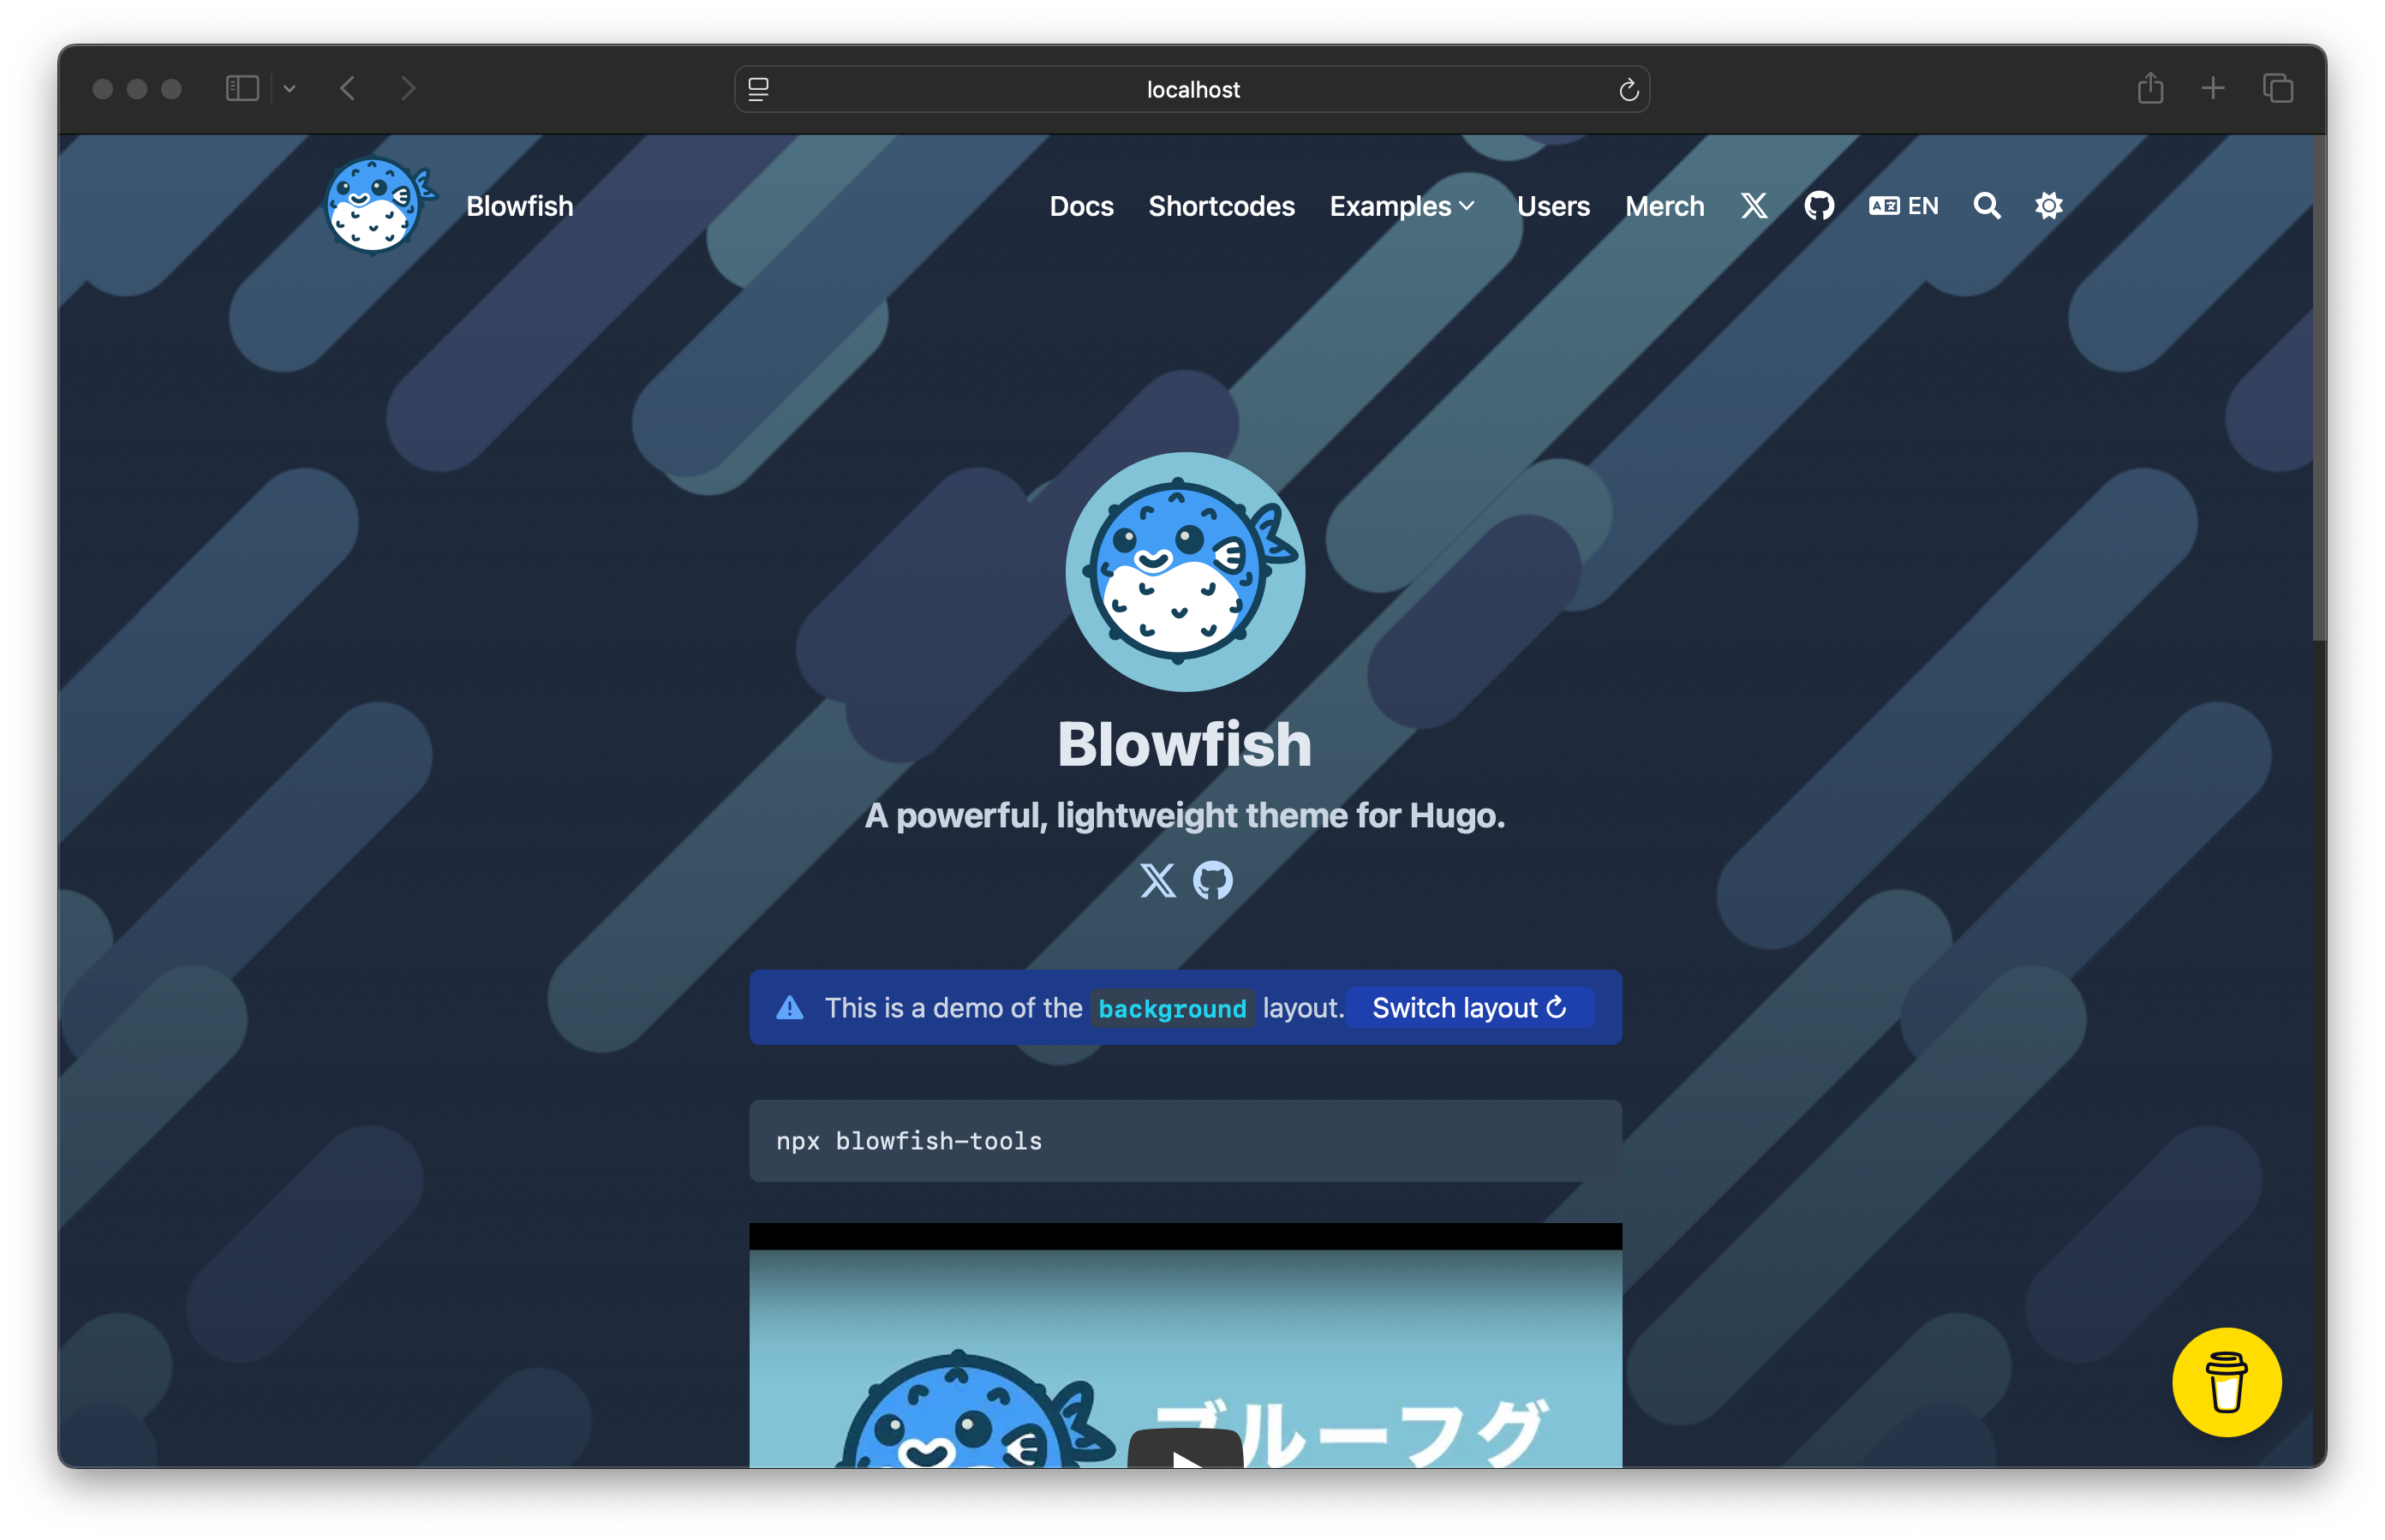
- Finally preview the example site by running the following and then browsing to
http://localhost:1313/or the site shown if different.
hugo server
Publish to GitHub #
A GitHub repository is neeced to connect to Azure Static Web Apps.
- Create a blank GitHub repo (don’t create a README) here named example-site.
- Add the GitHub repository as a remote to your local repo. Replace <YOUR_USER_NAME> with your GitHub username.
git remote add origin https://github.com/<YOUR_USER_NAME>/example-site
- Then push your local repo up to GitHub.
git push --set-upstream origin main
You will then need to enter your username and passkey. To create a passkey if you don’t already have one refer to here

Deploy your web app #
The following steps show you how to create a new static site app and deploy it to a production environment.
Create the application #
- Go to the Azure Portal.
- Select Create a Resource.
- Search for Static Web App.
- Select Static Web App.
- Select Create.
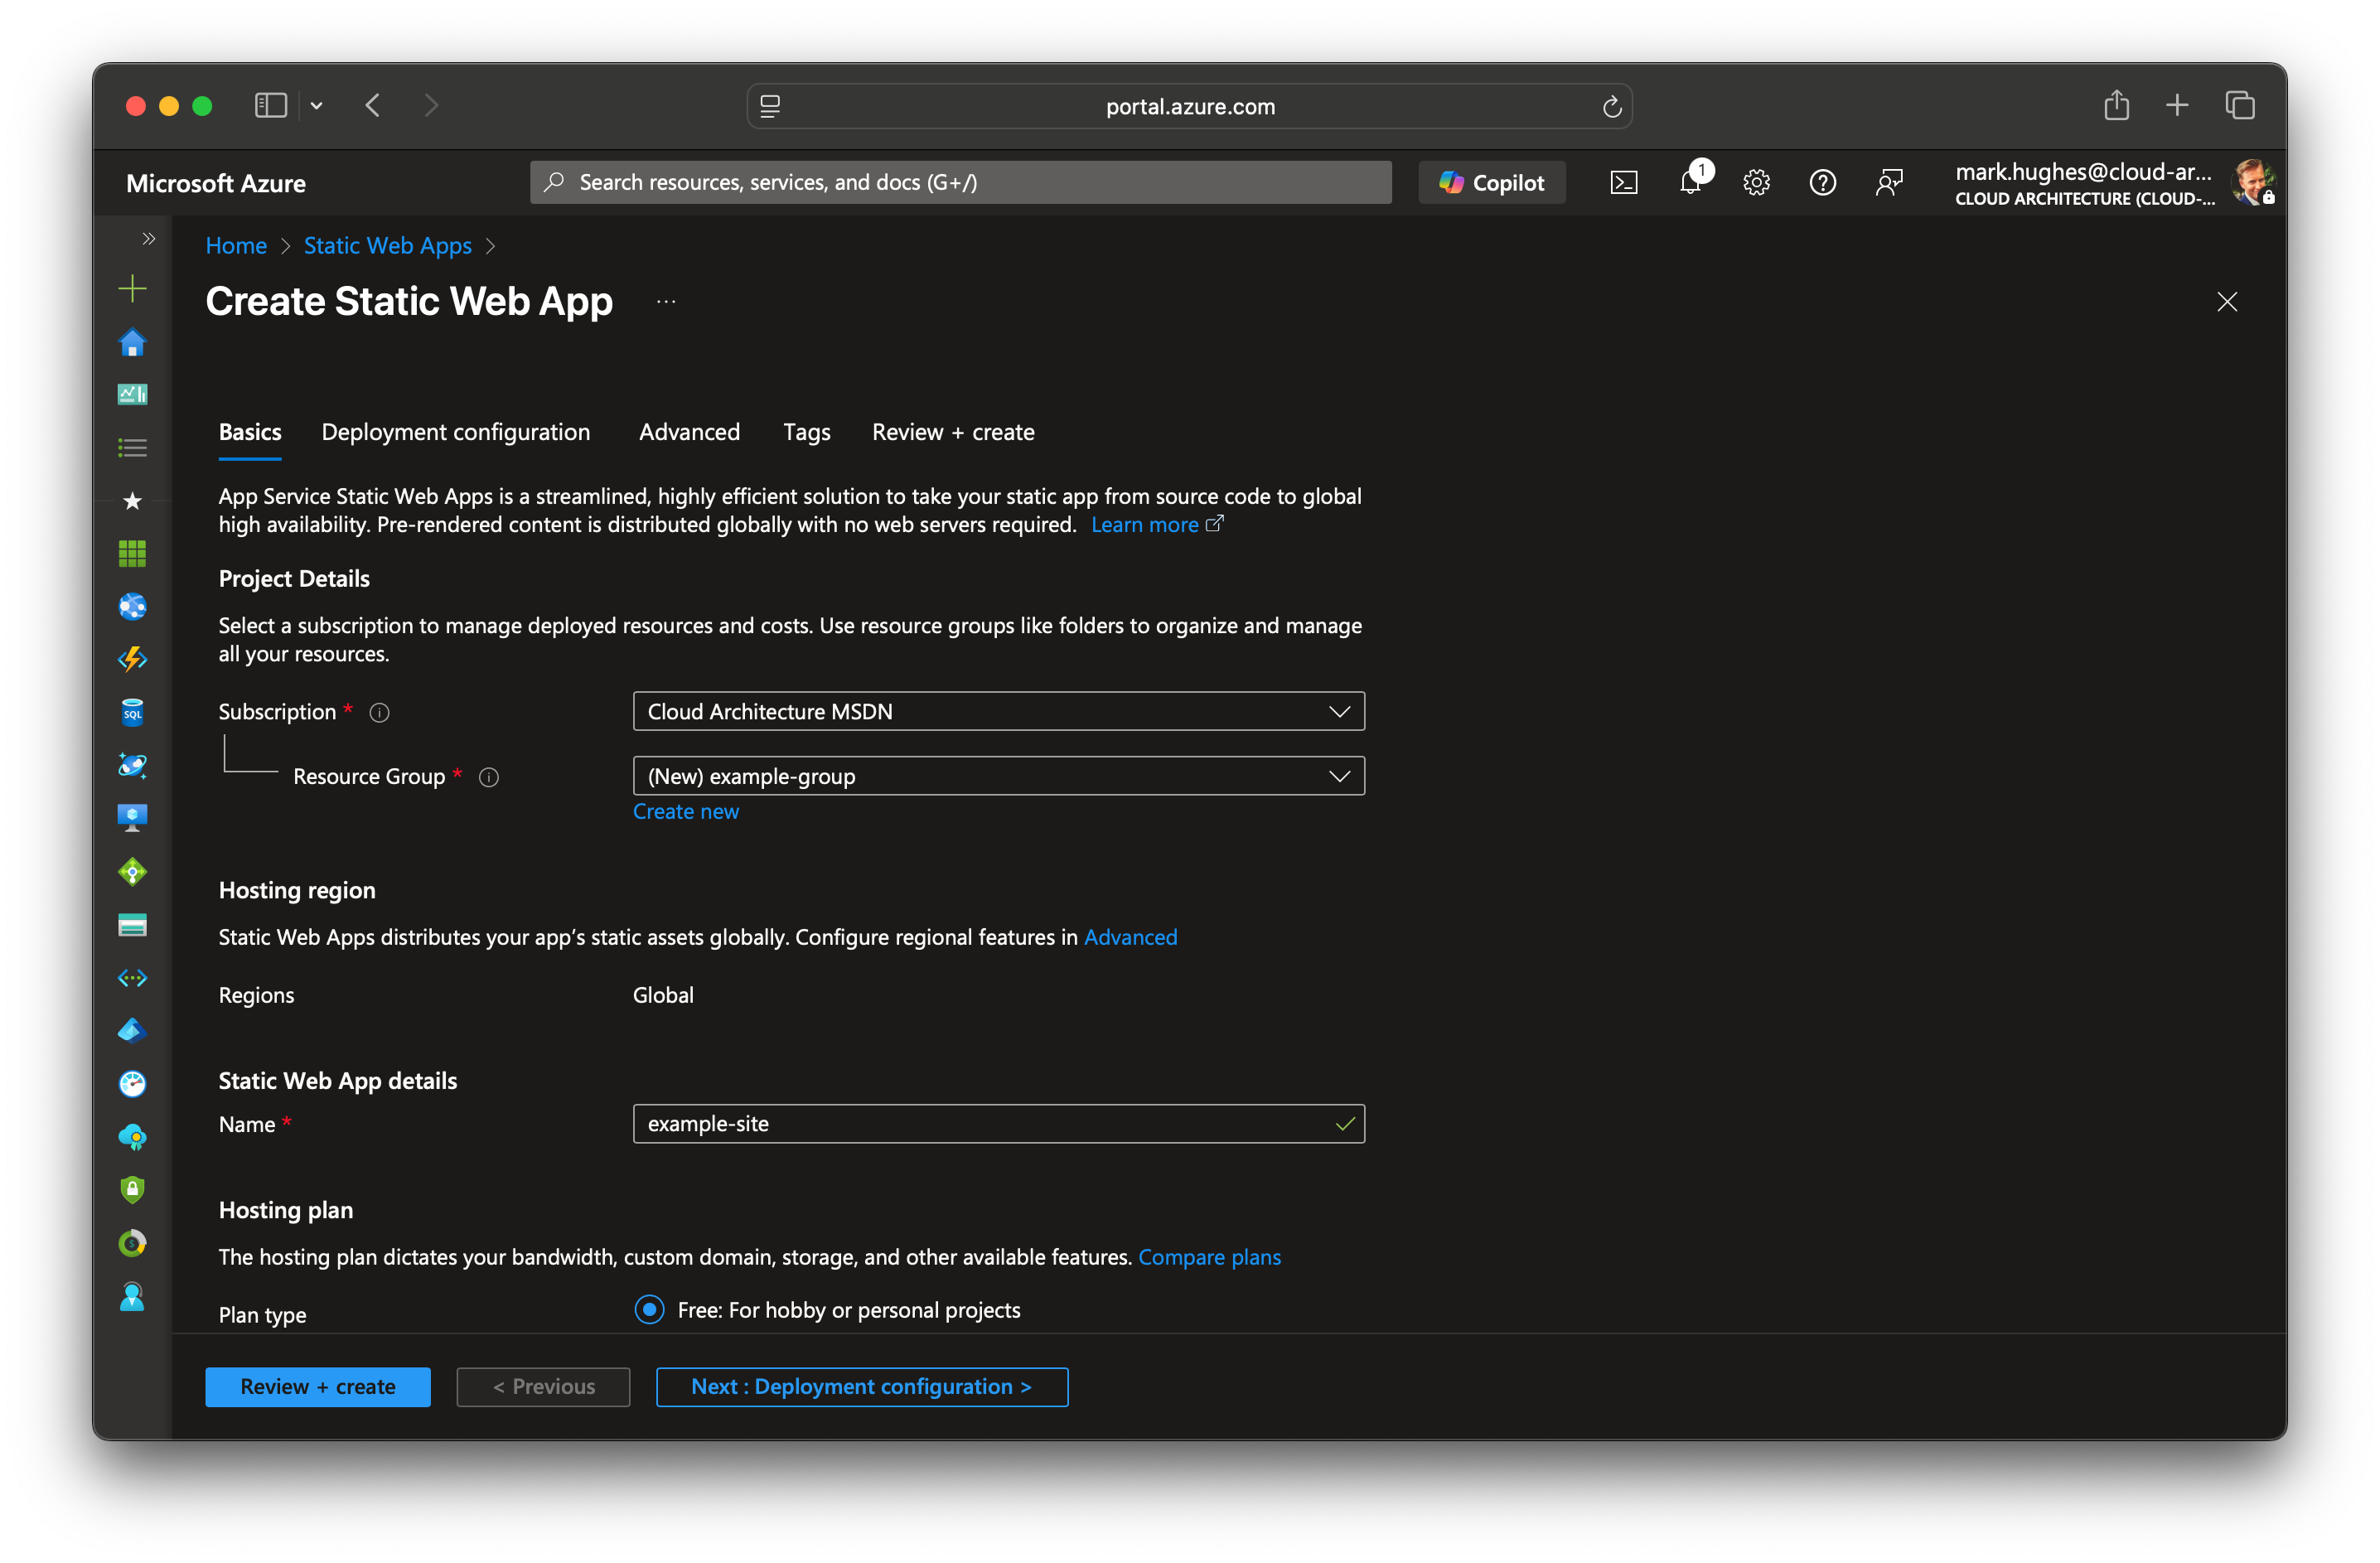
- On the Basics tab, enter the following values.
| Property | Value |
|---|---|
| Subscription | Your Azure subscription name. |
| Resource group | example-group (create a new one) |
| Name | example-site |
| Plan type | Free |
| Source | GitHub |
- Select Sign in with GitHub and authenticate with GitHub.
- Enter the following GitHub values.
| Property | Value |
|---|---|
| Organization | Select your desired GitHub organization. |
| Repository | Select example-site. |
| Branch | Select main. |
- In the Build Details section, select Hugo from the Build Presets drop-down and keep the default values.
- Click next and on the Advanced tab select the region closest to you.
Review your web app #
- Select Review + Create to verify the details are all correct.
- Select Create to start the creation of the App Service Static Web App and provision a GitHub Actions for deployment.
- Once the deployment completes, select Go to resource.
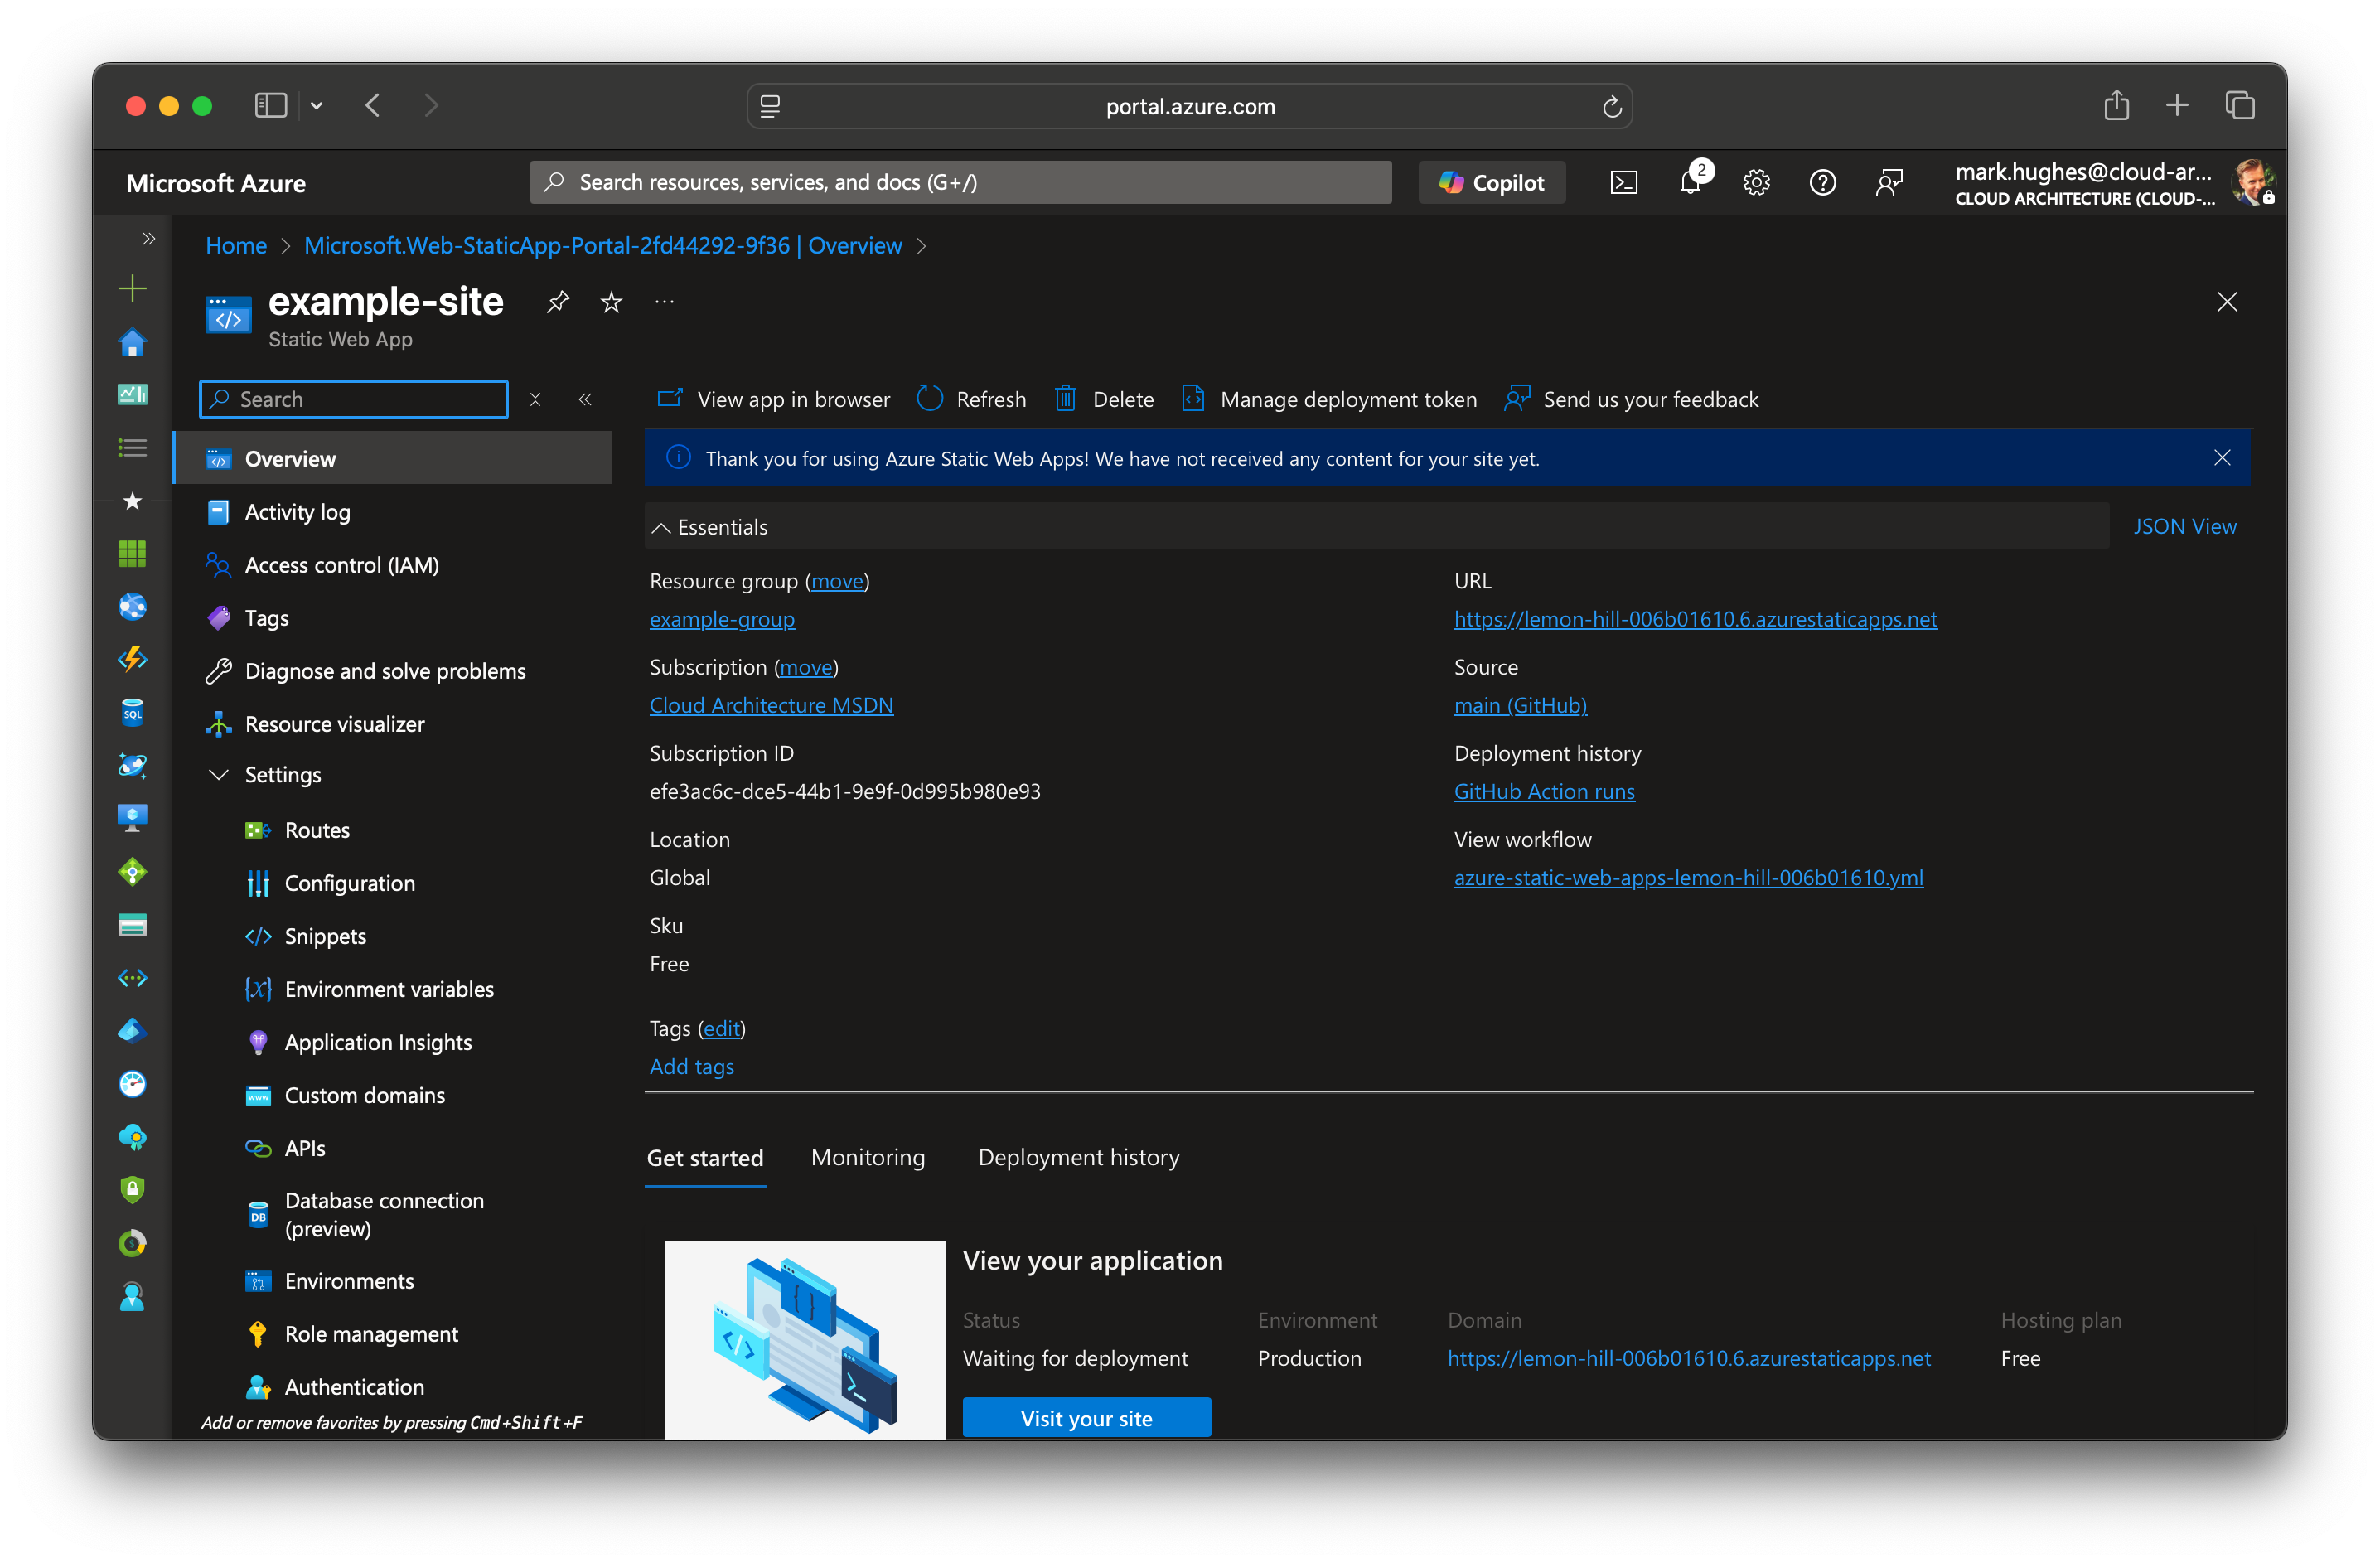
Update your web app #
- In order for the Blowfish theme to work you will need to update the URL within the themes config file. On the resource screen, copy the URL link to your deployed application.
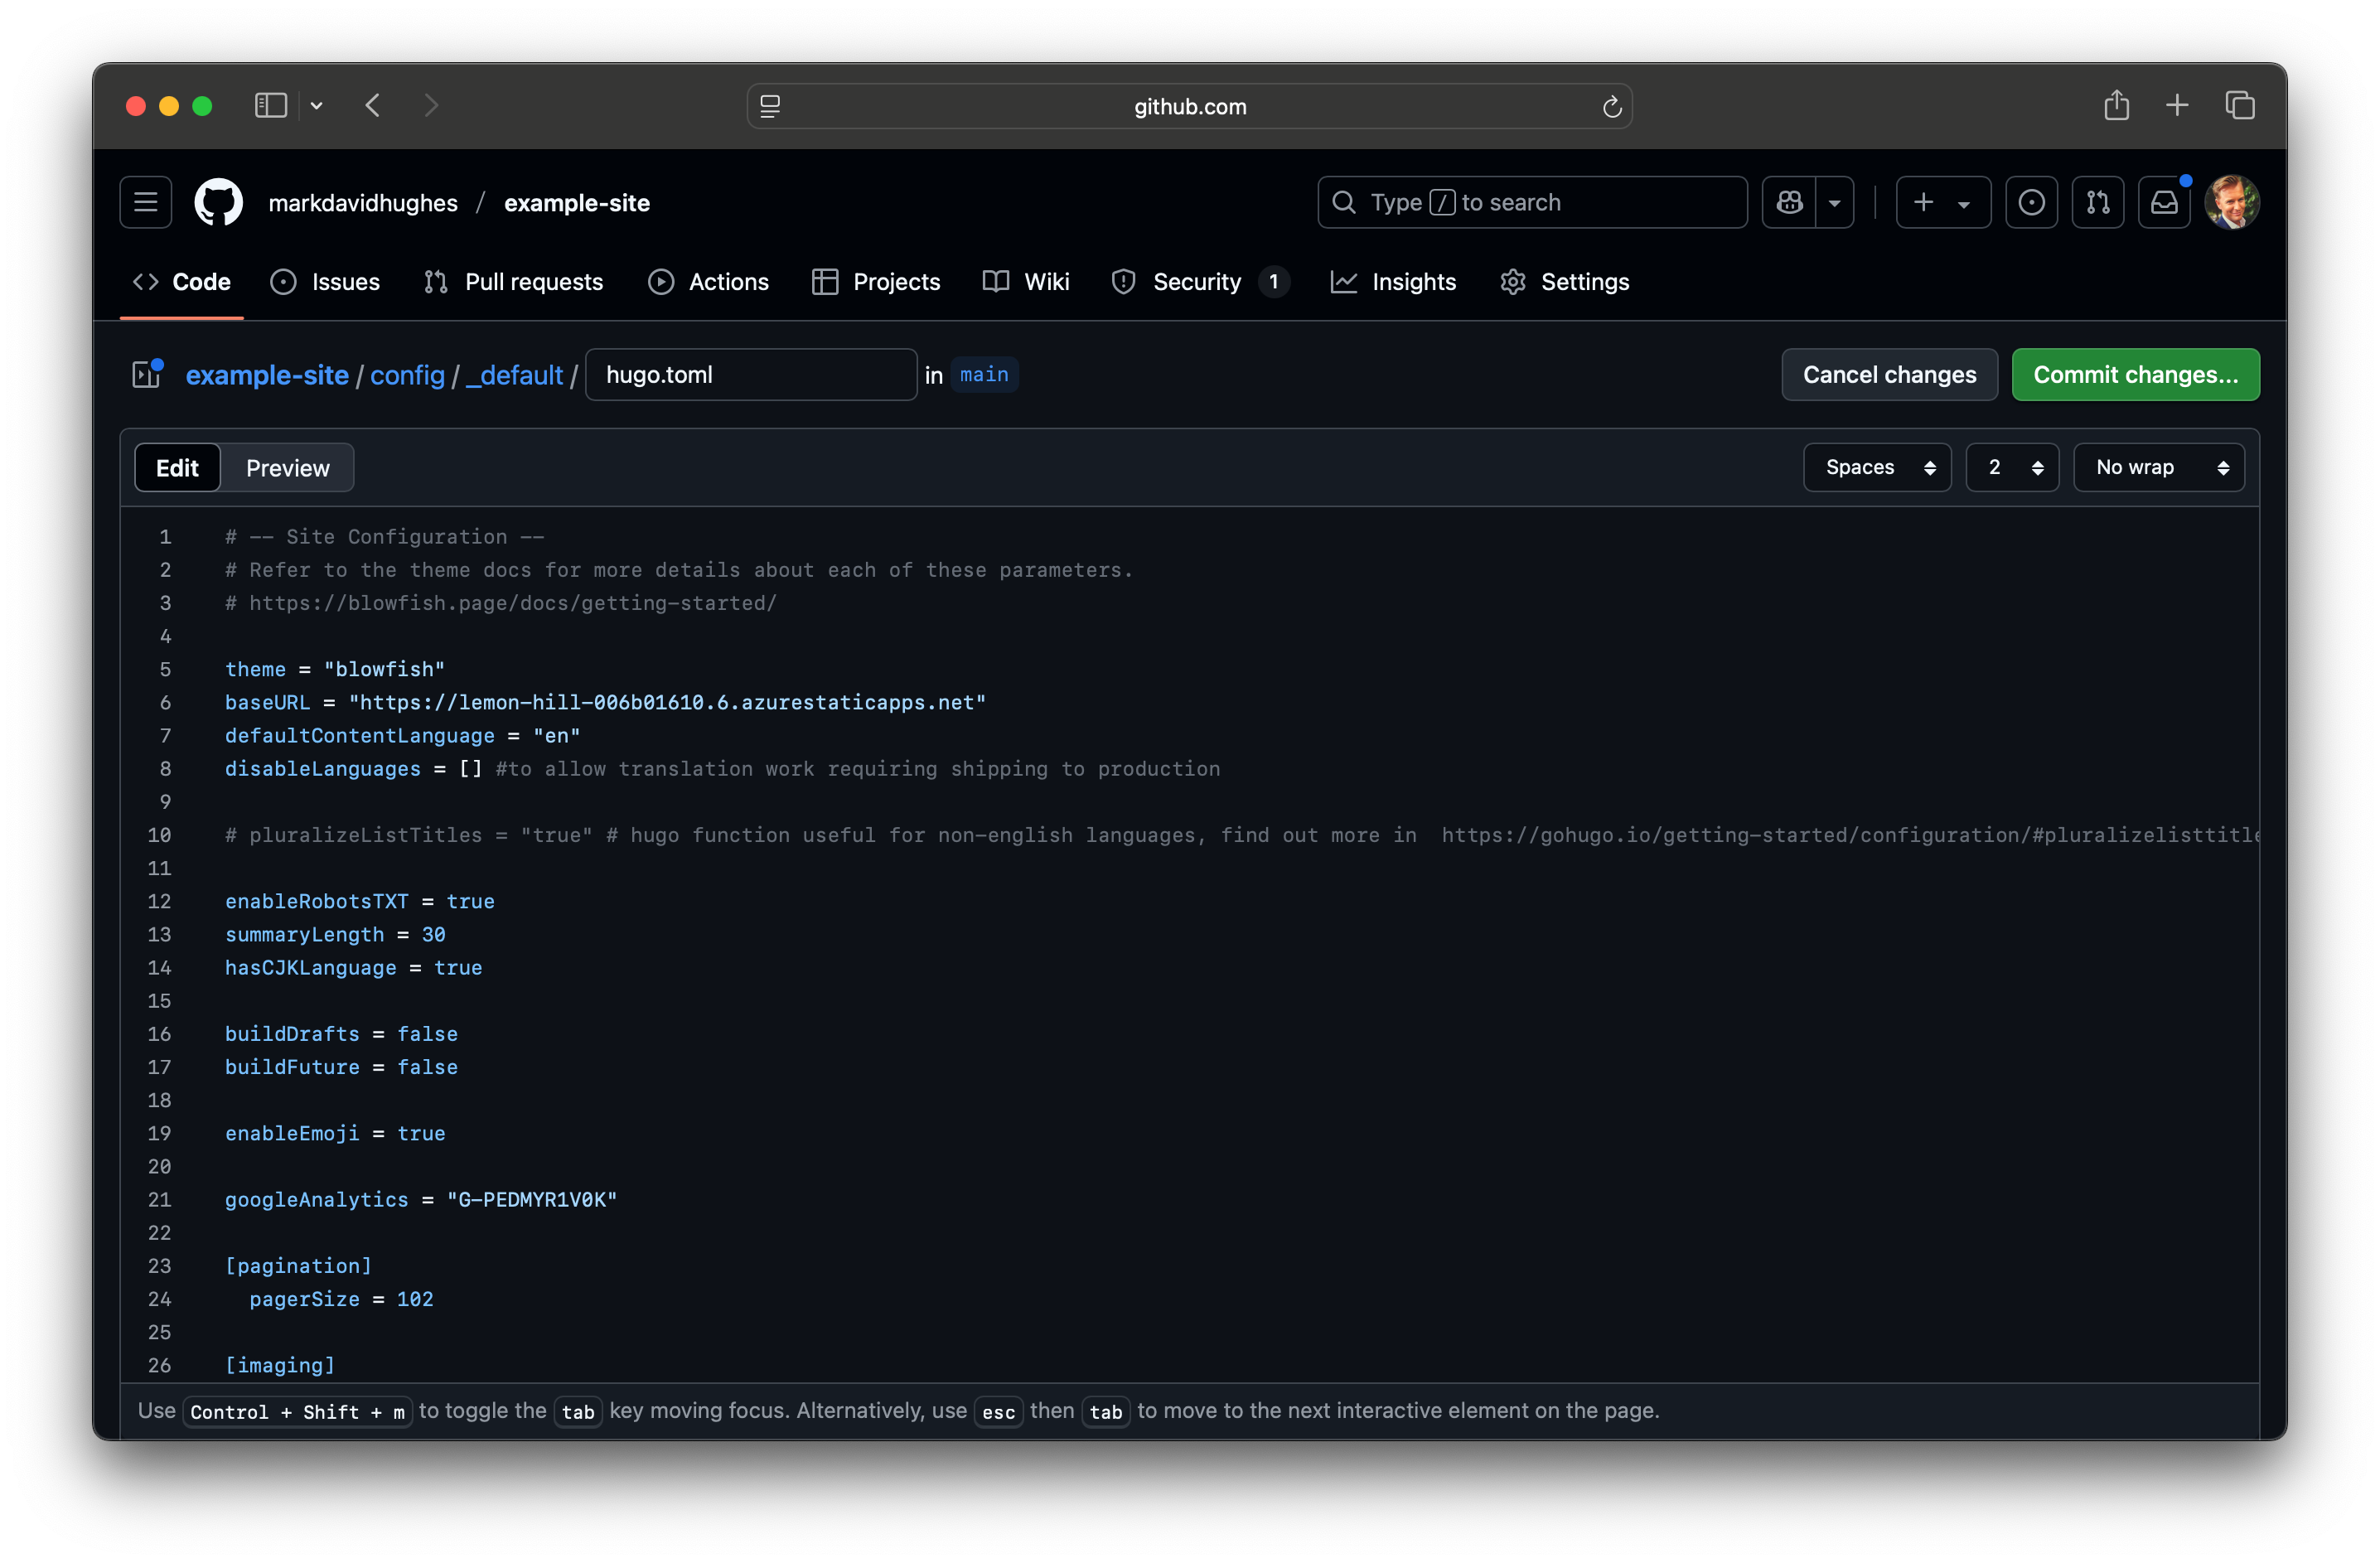
- Within the /config/_default/config.toml file update the baseURL with the copied URL.
- Commit and push the changes to GitHub which will automatically run the GitHub action to update the site.
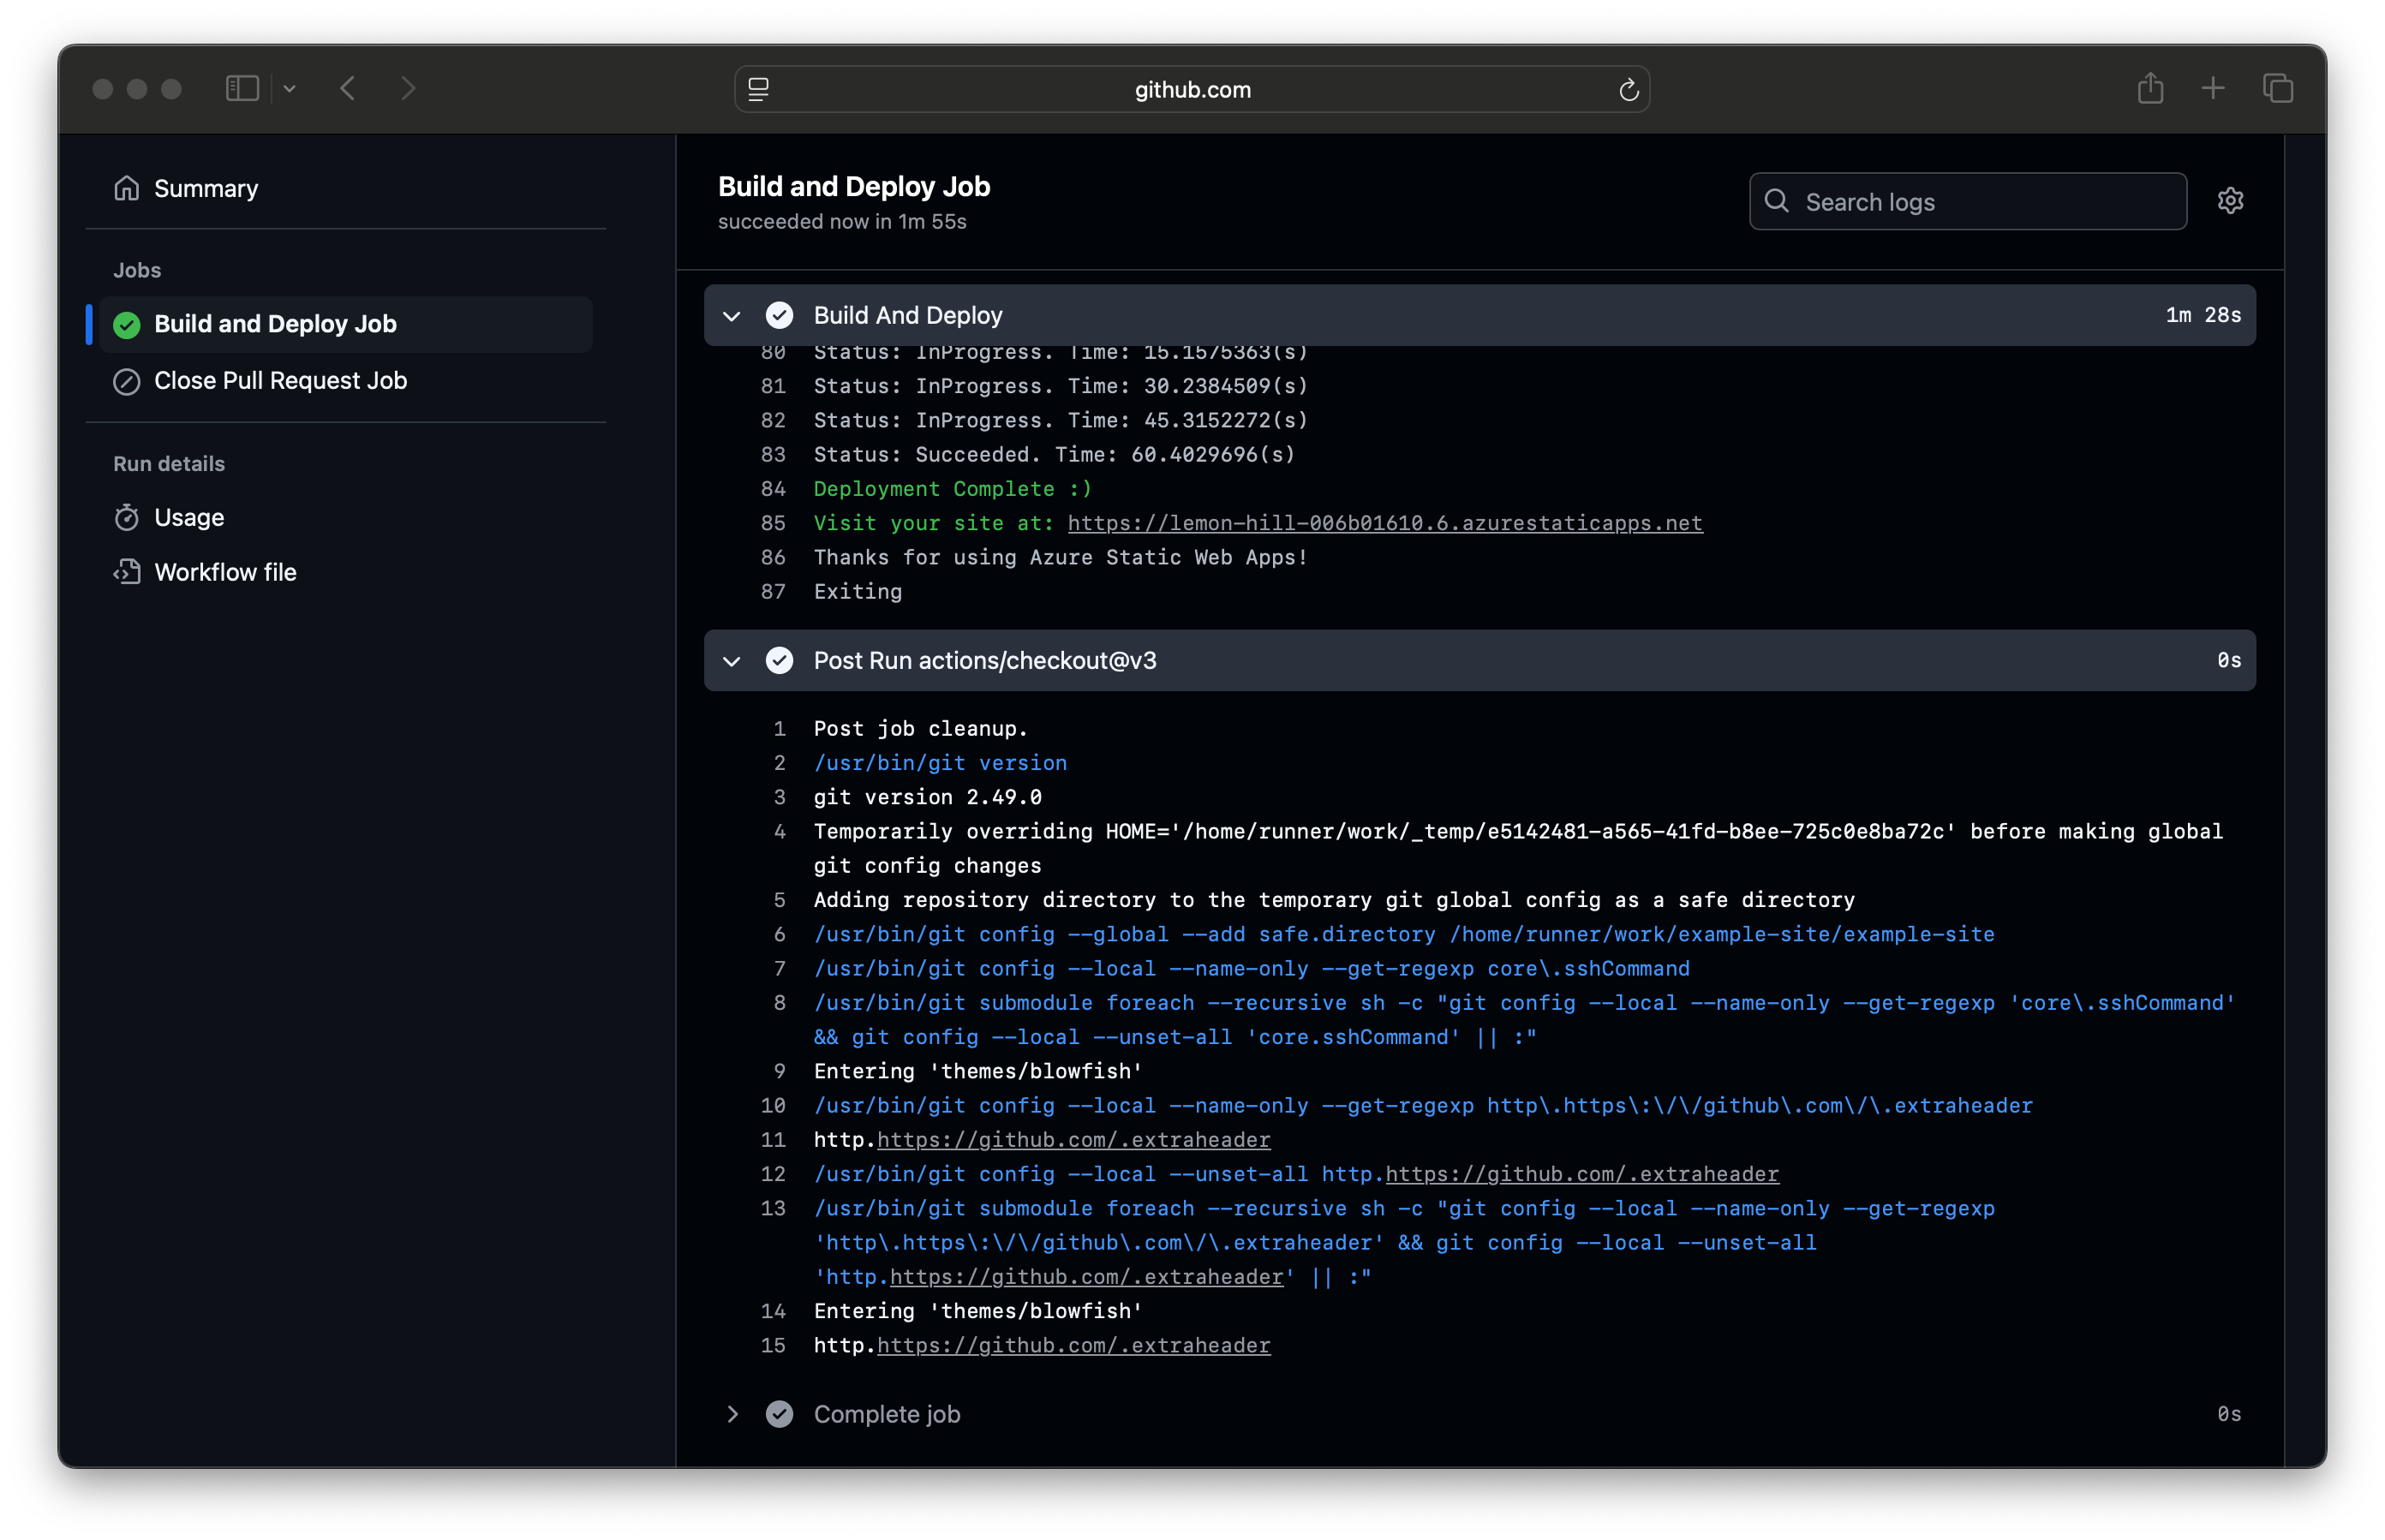
Confirm your deployment #
- Wait a minute or two for the GitHub Actions to complete.
- Navigate to your web applications URL to confirm deployment
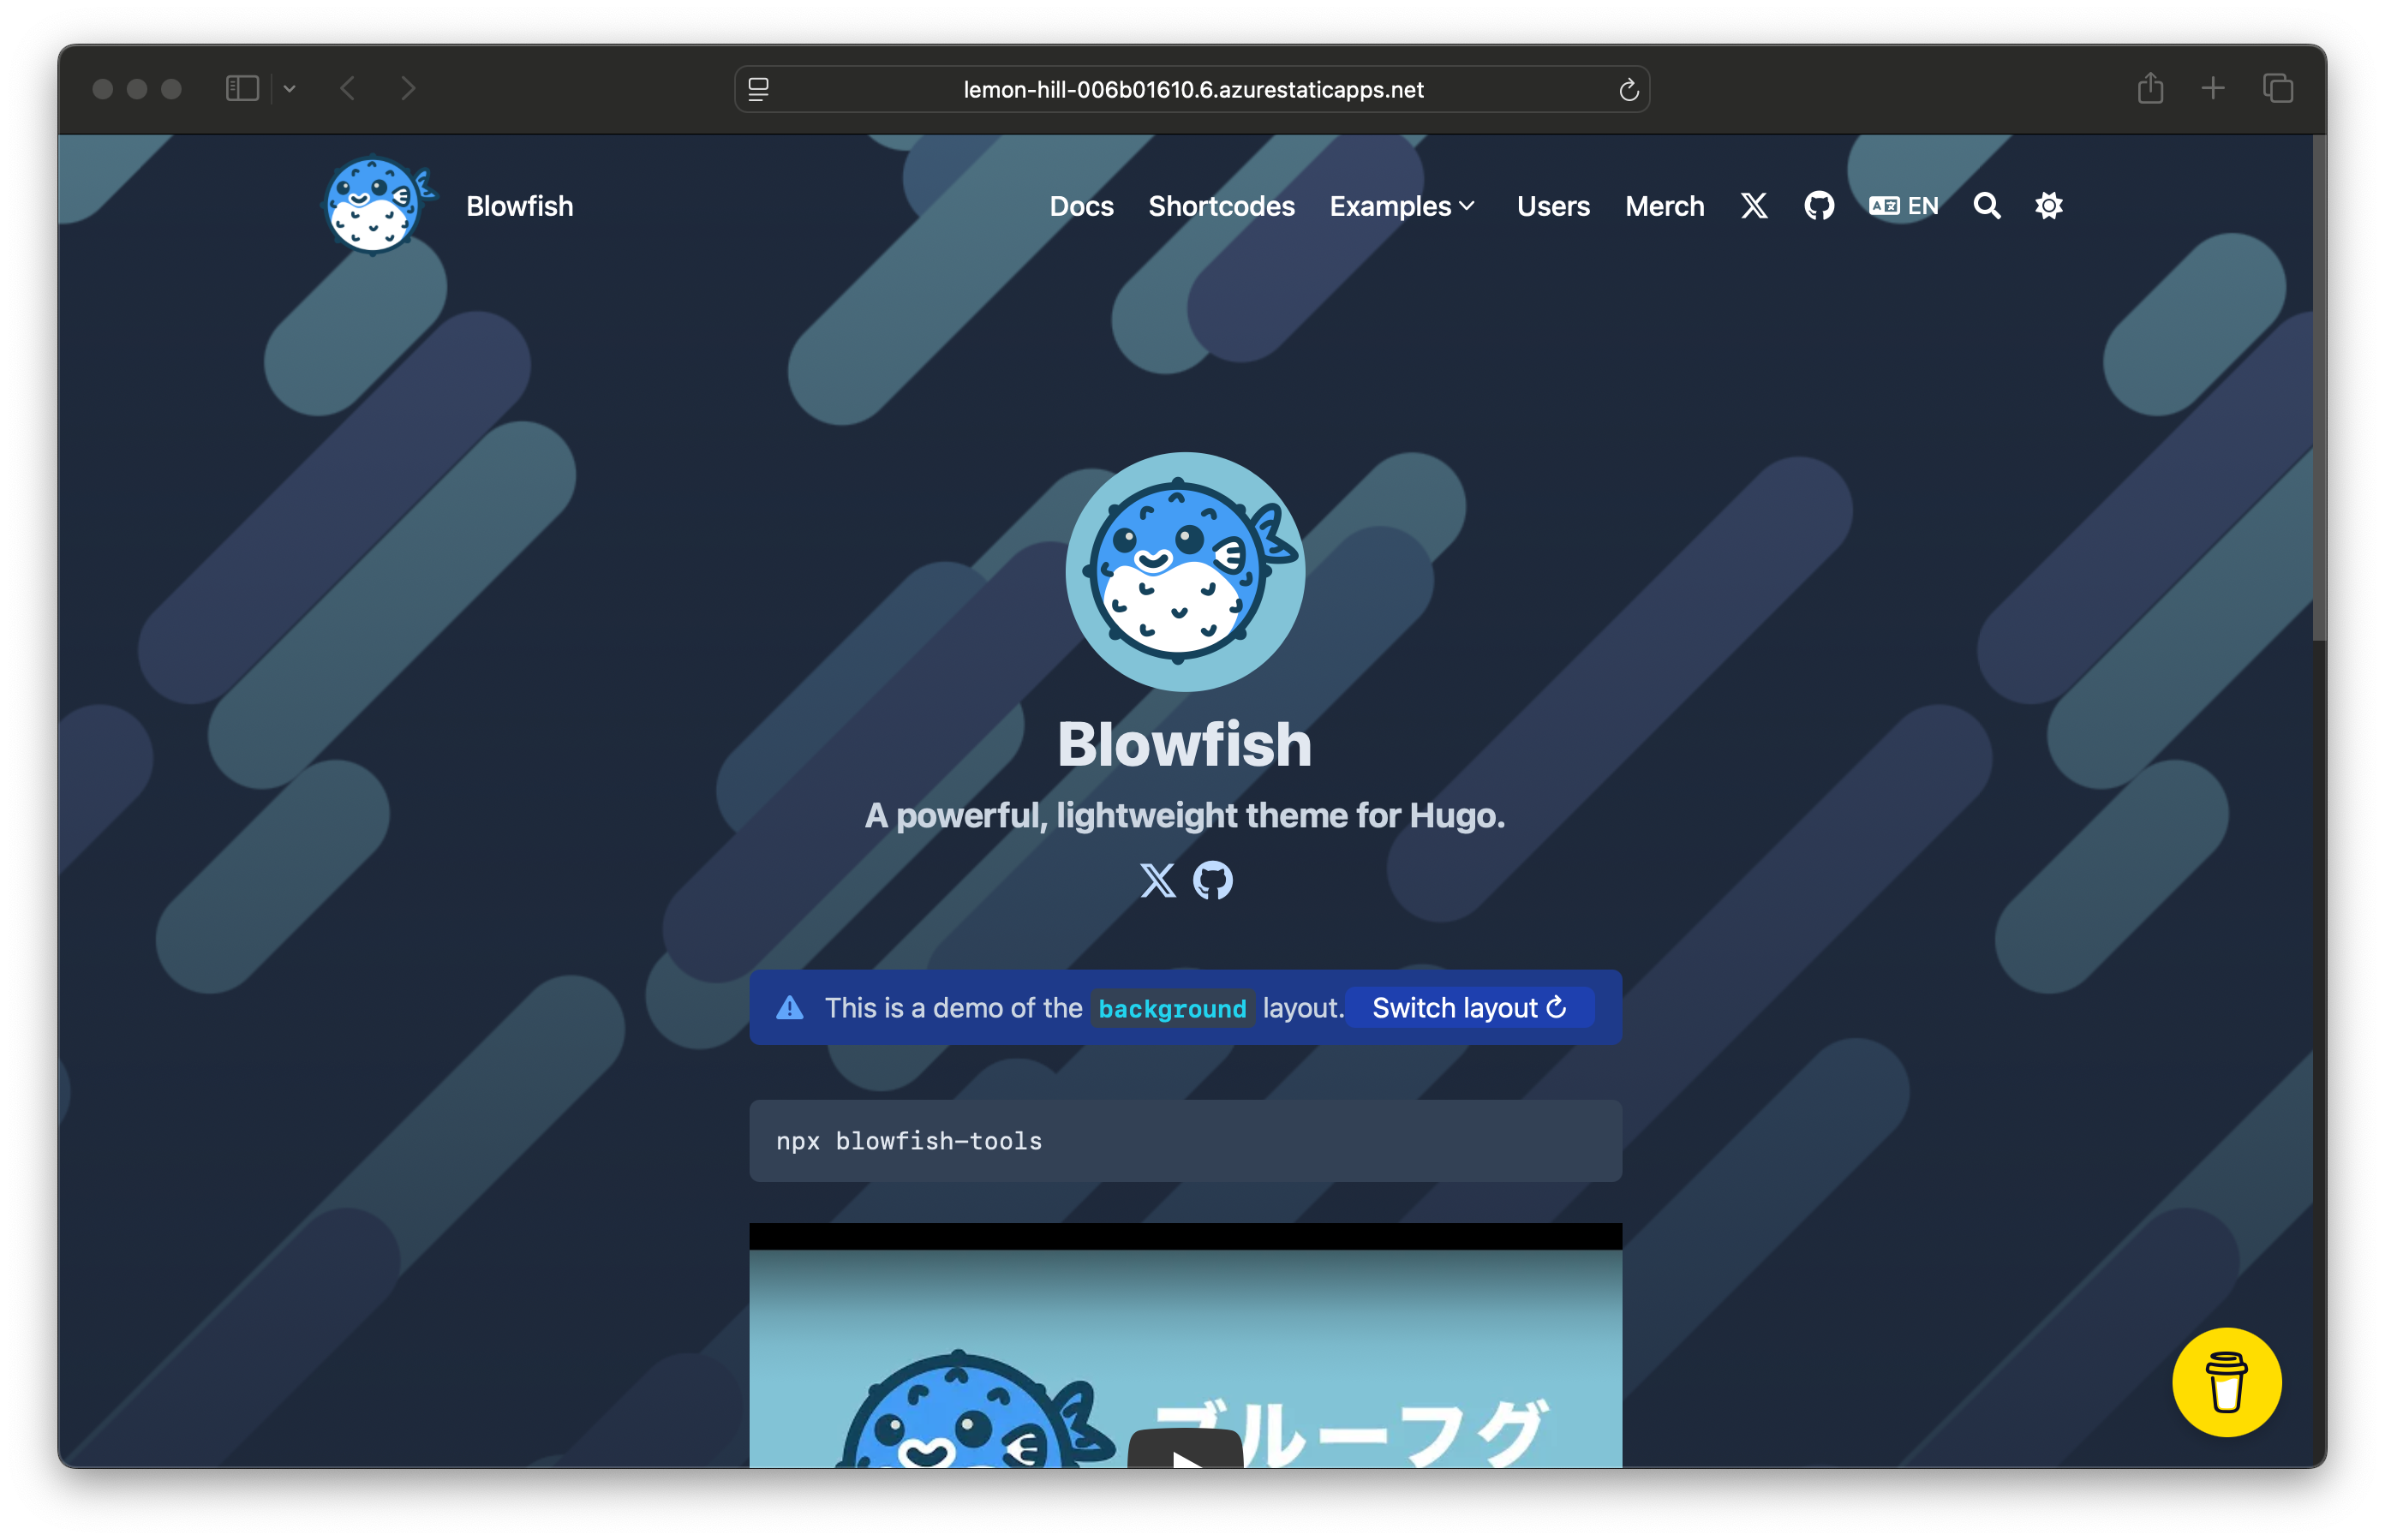
Conclusion #
This will provide you with an Azure static web app similar to mine with the Blowfish theme applied. From here you can add a custom domain and further customise the site.